Daniel Guzman
Alejandro Guzman
March 23, 2017
In this lab, we were trying to compare how friction is different when an object is at rest or when it is motion. Also we were trying to see the difference between friction on an incline plane or horizontal, flat plane.
In the first part of the lab, we had gotten a mass block and put it on the this board ( that we have cleaned) with the linoleum side. After that we tied a string to it and tied the other end to another hanging mass and we continue adding to the hanging mass, until the block finally moved. After we have done that, we recorded the hanging mass, the mass of the block moved. Did the same procedure over again after we put the block at the initial position but with weight added onto it. We did this again until it had a total of three masses and four masses, and recorded the masses. by using the logger pro, we were able to fine the coefficient of friction for respective masses and using that and various mass we are able to produce the graph below.

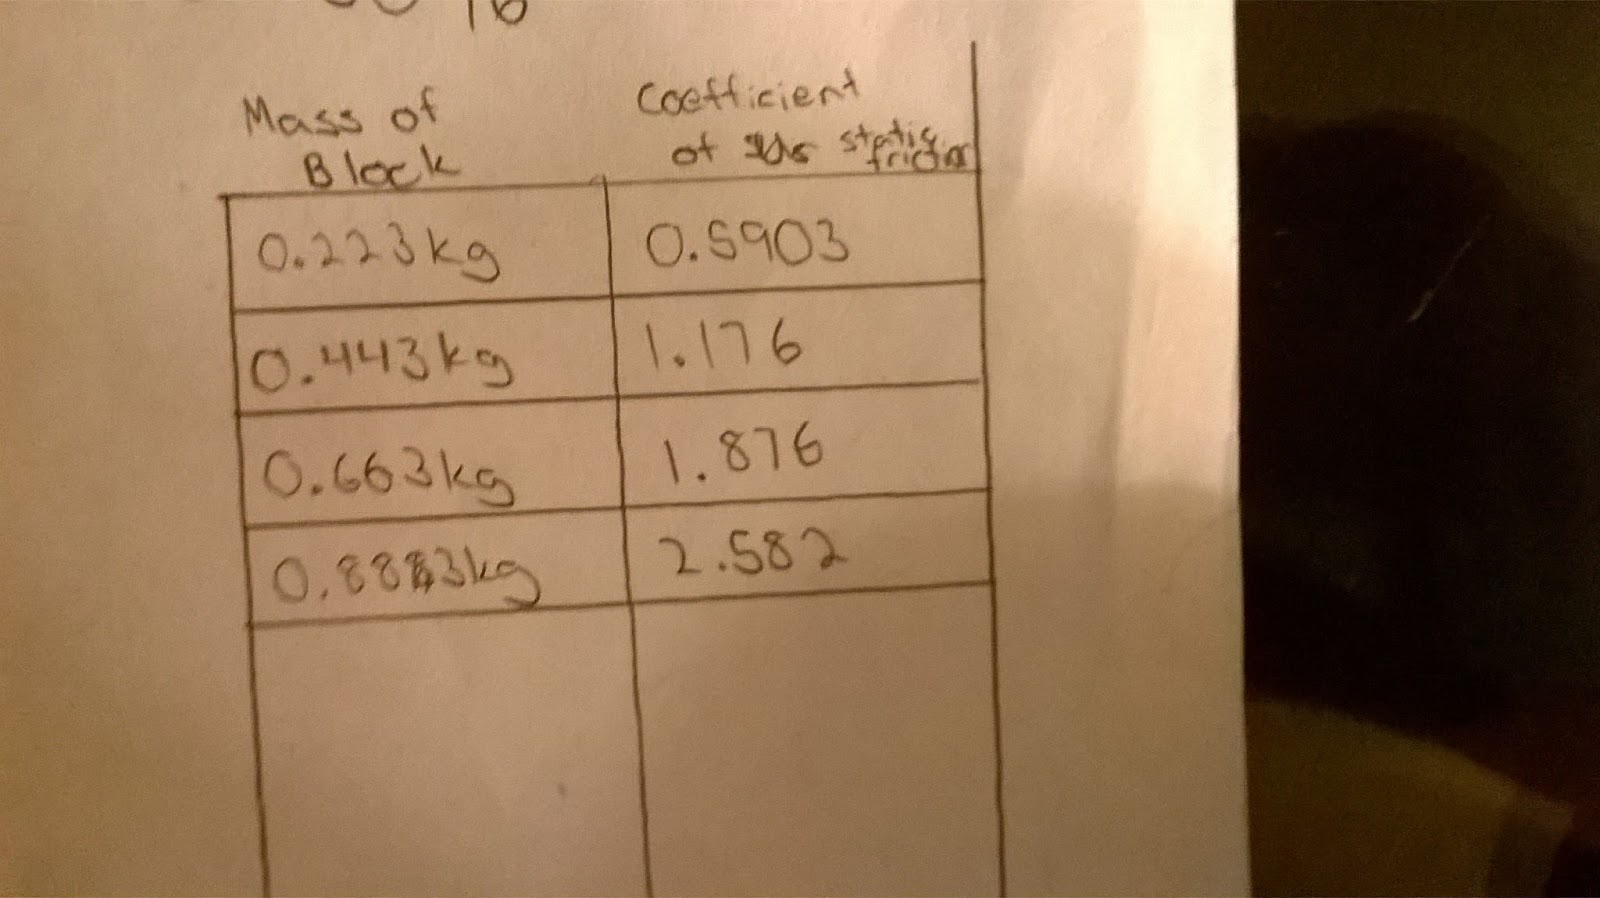

We were able to find our slope to 0.3096 which means that our coefficient of static friction between the block and the board to be 0.3096 due to the slope of mass vs. coefficients graph above.
In the next part of the lab, we pulled the string that was attached to the rope and we pulled it in front of the logger pro sensor. We did this again after applying more weight to the block and pulled it from the same initial spot and at constant speed. We did this again another two times and we were able to get a consistent coefficient of static friction that was graphed due to the logger pro program.
In the next part of the lab, we put a phone after it goes on this app that measure the angle from the horizontal and the block, we slowly raise the board until the block starts sliding down. We recorded that angle to 27 degrees. With this information, we went and tried to calculated the coefficient of static friction.

In the fourth part of this lab, we attach a motion sensor on top and using that, we raised the board to the same angle as before where the block would move. The motion sensor which is connected to the laptop, using the logger pro program help us the determine the acceleration at which the block was going at. Using all this info, we were able to calculate the coefficient of kinetic friction as shown in the picture below.


In the final part of the lab, we put the board back down on the table and attach a piece of string to the block. we attach the other end to a hanging mass. We wanted to see if we can determine acceleration of the block if we put enough mass to the hanging mass. So we went and put enough mass so the block will accelerate and the logger pro sensor captured how fast it was accelerating. In the picture below, we tried calculating how fast the block was moving.


In this lab, we were able to learn how to determine static and kinetic friction. I believe that there was error in some aspects as in the lab, as I do not believe to have pulled the block at constant speed as i would have like to. I also believe that if given more time, we would have been able to reduce our percent error more.

No comments:
Post a Comment